Tuesday, December 29, 2015

December Inspiration by Dawn

Hi everyone, it’s Dawn here (again!) on this fabulous Tuesday and I have a fun and easy little project to share.


 When I color all those pretty Cute As A Button stamps I like to keep a record of the Copic colors I used – that way it is easier to keep track of my color choices for future use.


Copics used:
Skin - E11, E00, E000, R20
Hair - E29, E25, E23, E21
Clothes and wings - RV11, BG11, RV14, BG15
 
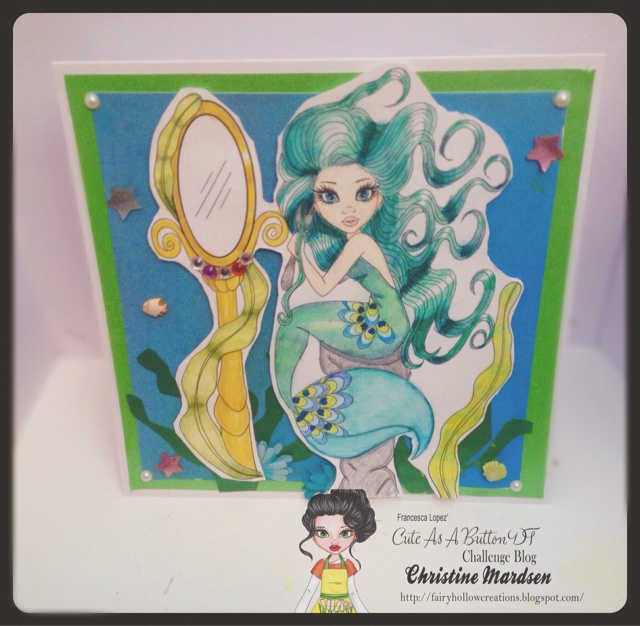
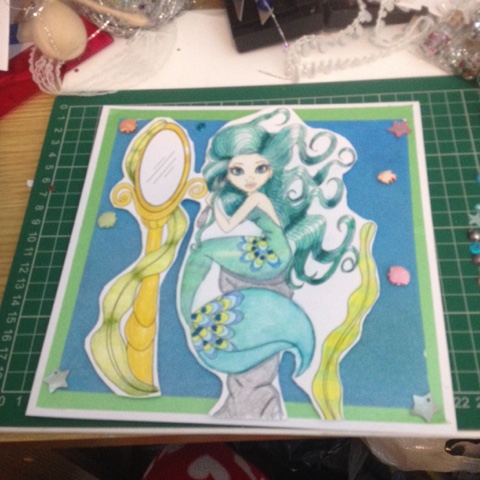
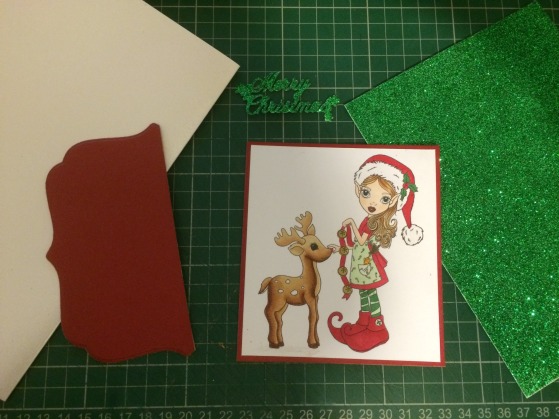
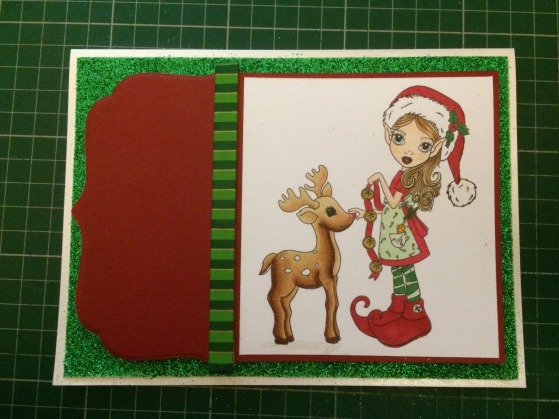
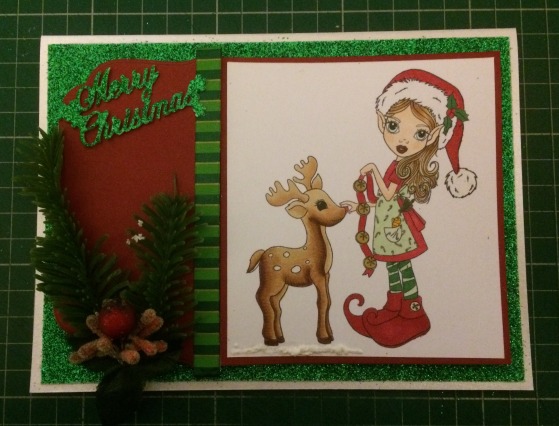
Directions on how to make the card: 
 
First you need to color your image.


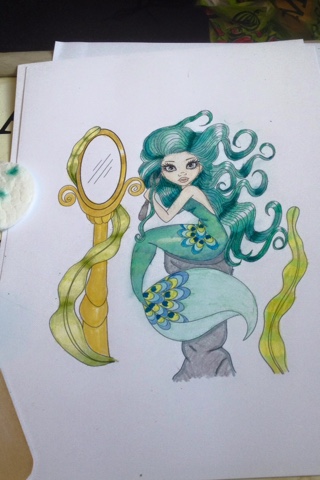
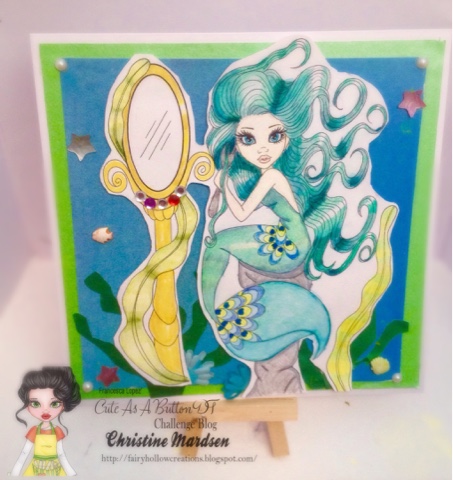
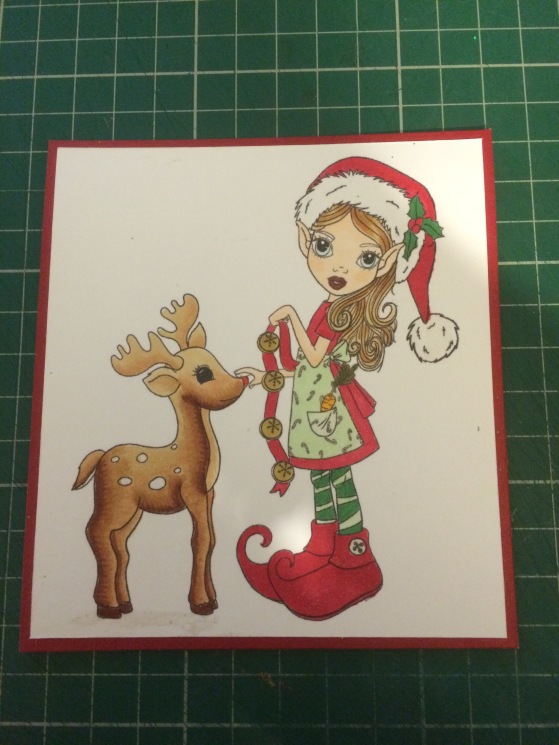
Here's the completed colored image:


Next fussy cut out the colored image:
I wanted an airbrushed background using the colors that I colored the beautiful image.  So I used my copic airbrush system and the BG15 marker and added a layer of color to my card base front. It is very light in the picture, but it is there.

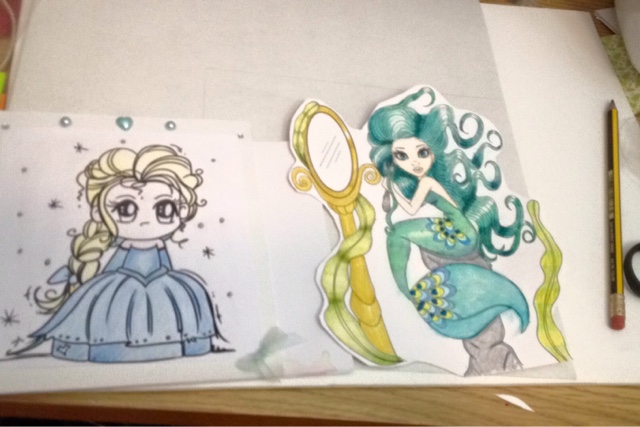
Next I added a layer of RV14 over the layer of BG15:
Next take both the airbrushed background and the cut out image and get ready to assemble your card.
Assemble card and decorate as you please.  I added some ribbon and bows and a few pearls.


Do you love to create using Cute As A Button images? If so, we would love to see them, and to make sure we do not miss a single Button creation from you!
Remember to hashtag us on Instagram with ‪#‎cuteasabuttonstamps‬ so we can find you easily and ogle your awesome creations! Don't forget to check out our BLOG for more inspiration using Cute As A Button images.


Tuesday, December 22, 2015

December Inspiration by Christine

This month I chose to do the peacock mermaid for my inspiration project. She can be found her http://cute-as-a-button-stamps.myshopify.com/collections/digital-stamps/products/digital-digi-stamps-big-eyed-digis-img000261-peacock-mermaid-by-francesca-lopez-cute-as-a-button
Anyone who knows me knows I love mermaids, fairies and mythical creatures. 
This is my finished card it is on an 8x8 card. 
To start with I printed off the mermaid on some A4 card stock. 
To colour her in I used my spectrum noir pencils, watercolour pens and alcohol markers. For her skin I used 1,3,6,8 for her hair I used the pens and my pencils.
I then fussy cut her out 
She is next to one of my first cards here it shows how far my colouring has come along.
Next I found some green and blue papers from my stash. I mounted these on my card. I then played around with several embellishments before deciding to add some seaweed behind I roughly drew it as cut it out.
I decided on some sea themed beads an some pearl embellishments.
I also added some mother of pearl stars and some jewels to the mirror. I hope she inspires you all to have a go.  
Don't forget to head over to the Challenge blog an check out this month challenge too! 

Sunday, December 20, 2015

December inspiration by Nicky


Inspiration by Nicky


Here is my inspiration for you today. Its a fun project. I hope you all like it :)


I made this card using the 'Lego Engineer' image from Cute As A Button. Find it at the shop link below.

I started off by selecting 3 colours of card and promarker that go together. The promarkers were Lipstick Red, Arctic Blue and Forest Green. I coloured the image using those 3 coloures as my base and added a few more as necessary (eg. the hair and jeans) 

I layered the image onto card to match the Forest Green promarker and and used my Silhouette Cameo to cut lego bricks to match the thee of the card. I cut them using the same 3 base colours and layered them at the bottom to look like a lego wall. I added one at the top too, just for fun.


Here are some links for you:


x HAPPY CRAFTING EVERYONE x

Saturday, December 19, 2015

December Inspiration by Judy

Hello all!
It's Judy here with my first Inspiration post for

I created a card using

I started by gathering my supplies.


2 prints of the image
Spectrum Noir markers
Fiskars gold glitter gel pen
Papers from DCWV Sparkling Holiday Stack
Sizzix Framelits Dies
Gold ribbon
5" x 6 1/2" card base


 I colored the stars and halo on one image with the gold gel pen.


Then I colored the second image with the
Spectrum Noir markers and gold gel pen.


Next I fussy cut the second image.


I prepared the card base.


 I die cut a circle and adhered the first image to a gold mat.


I added gold ribbon and applied all the card stock
pieces to the card base.


I added the fussy cut image with pop dots to the base image.
Then added the finishing touches,
a sentiment stamped and die cut
and the gold bow.


And this is my finished card.

Be sure and check out the current challenge at
Cute As A Button Challenge Blog
where you can find more inspiration and enter the challenge.

And then join us at the
Cute As A Button Facebook Group
where there's even more fun & inspiration!

Happy crafting until next time!


Thursday, December 17, 2015

December Inspiration by Sarahjayne

Sarahjayne
Hi all its Sarahjayne here to share with you a card I couldn't wait to show you which is my Inspiration Card for December 2015 & I have decided to use the stamp Reindeer Bells.
http://cute-as-a-button-stamps.myshopify.com/collections/christmas/products/instant-download-digital-stamps-digi-img00100-reindeer-bells-cute-as-a-button-by-francesca-lopez

For this card I used.... The above stamp, Spectrum Noir Pens, Wink of Stella in clear & white, Centura Pearl as card base, Green Glitter Card, Red Card, Tattered Lace Christmas sentiment, Ribbon, Faux Gem stones, Christmas decoration, Collall 3d gel, All purpose Glue & Tacky Glue, X cut basic die, Puffy Snow.
5
I coloured my Image in using Spectrum Noir Pens...Fs4,5,8, GB 3,8 DG4, JG1, LG1, DR5,7, TN7, EB1,2,6, IB1 & then used Wink of Stella Clear on the dress, shoes & hat, i used puffy snow under the reinder & then brushed it with wink of stella white.
IMG_1900
 I then used a basic X cut Die & cut out the shape & then cut it in half. I then added ribbon.
IMG_1903
I cut the Centura Pearl & Glitter down to the size I wanted so that I had a boarder of Centura Pearl around my Glitter card.
1
Then I used 3d Gel to add my coloured Topper
IMG_1904
And then my cut shape with ribbon was added with 3d Gel
4
Next I added the Christmas decorations & Merry Christmas sentiment using 3d gel
7
Lastly I added the Red gem stones to the Merry Christmas and ting Gems around my image to look like snow.

Happy Crafting Sarahjayne xxx

Tuesday, December 15, 2015

December Inspiration by Lau W

Hello !

It's Lau ! I want to share a project with you today ! I decorate a jar of jam and i used the stamp Strawberry Jam.
Hope you like it !


First, I printed the stamps on sticker paper. Then I drank my cappuccino and eating a chocolate haha ! ;-)


I colored the stamp with watercolor crayons.


I used Sizzix round dies to cover the lid of my pot and I used pinking shears for the label.


Then, with a glue gun, I glued lace and ribbon around the lid


Et voilà !!! My pot is ready to be filled with good jam :-)


View above.

I hope I have inspired you, and feel free to join us on Facebook to share your projects, it's here : https://www.facebook.com/groups/CuteAsAButtonDigiStamps/


You can join us for the challenge of december, the theme is New Beginnings.

Dear crafters, I wish you my best wishes for Chrismas !
.

Sunday, December 13, 2015

December inspiration by Helen

Hello, Helen here with some new inspiration for you.
We have a lot of pictures in this one, so grab a cup before you join me :-)

As I choose the above digi "a good book and a cup of tea" to make my inspiration post I thought it would be a good idea to make a flower out of teabag covers.


To make a flower you need 8 similar bags.


You will need to cut 8 similar squares of 3 x 3 cm.


Fold in half horizontally (coloured side outside)


Fold in half vertically (coloured side outside)


Fold diagonally (coloured side inside)


The five stages of the folding process;
in the end I have fuzzy cut around the square (in this case the cherry)


Now you can put the flower together:
above the way it should look like
under you see where to put the glue


In the end your flower should look like this:

As you can see I have made my flower match the beautiful digital papers - PolkaDot Sorbet Medley (available in the shop)


Here I have put all stuff together to build my card; the digi has been coloured in matching colours (derwent pencils) with the paper and the embellishments.


To have the digi come more forward I added some distress ink Walnut Stain with a dauber to the edges of the image.


As I laid everything together I decided I didn't like the twine, so had to make up something for the charm Tea pot. So I have put some jump rings onto the charm and added a matching bow from Forever Friends/Kraft notes series.


The flowers are put together with a brad and I stick them to the card with 3D kit.


This is how my card turned out in the end. The basic card is linen cardstock in the colour Terra brown, size 13,5 x 13,5 cm. On top the DP in the size 13x13 cm.


The minty paper flowers are from Dovecraft and the brad is from Basic Grey.


The lovely digi is coloured with derwent pencils on whisper white cardstock from Stampin'up.

The matching bow is from the Forever Friends/Kraft notes series and I have added the tea pot charm with jump rings to it.


Hope you like my inspiration post and if you look for any great stamps to colour, please have a look at the Cute as a Button shop. And don't forget that when you make a creation with a Cute as a Button stamp you are most welcome to share it on the challenge blog and/or in our facebook group.

See you next month.

Wishing you a Merry Christmas and a Happy New Year.

Helen